QuickBooks Reports data source
Learn how to set up a QuickBooks Reports data source and then move this data to one of the supported by Coupler.io data destinations.
The 2 steps to complete the setup
1. Set up your data source
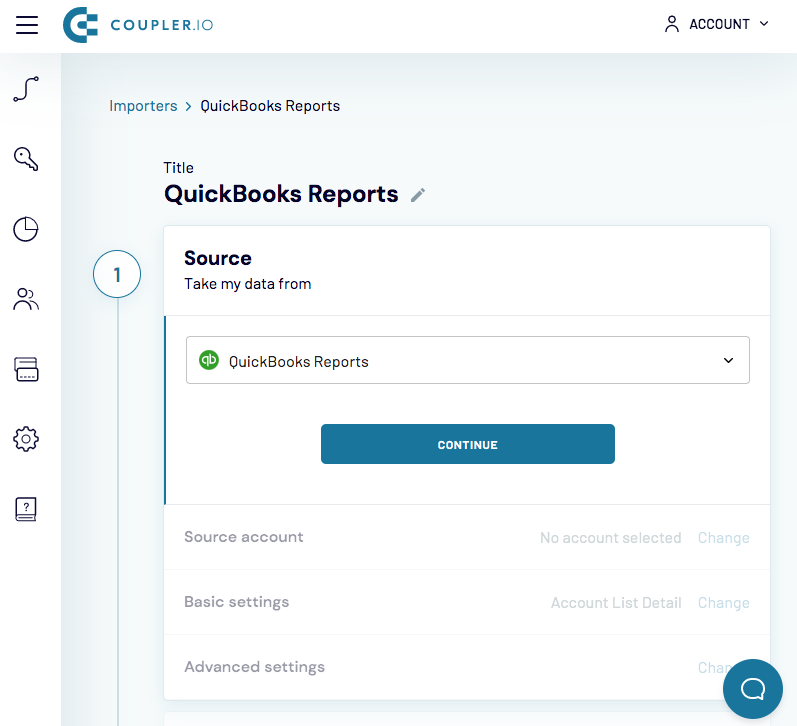
- Select QuickBooks Reports as a source application:
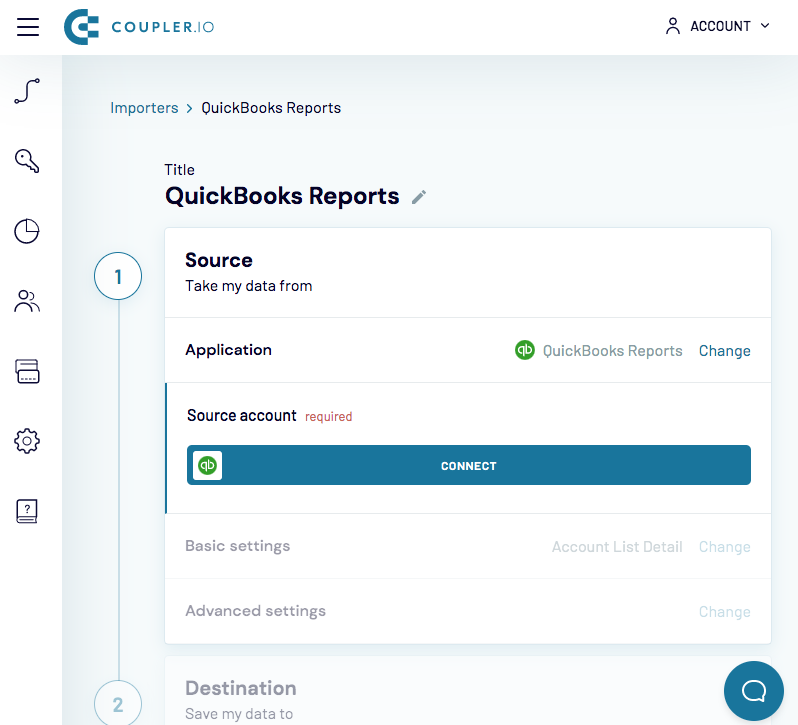
- Connect a QuickBooks Online account
- Click 'Connect' button.
- Log in to the desired QuickBooks Online account.
- Coupler.io needs consents to view your QuickBooks data. Click 'Allow' in the pop-up window to grant needed consents.
- Select what report you want to fetch from QuickBooks
- Select one of the pre-defined periods you want to build report for in the dropdown 'Report period':
- Fill out the "Display columns by" field:
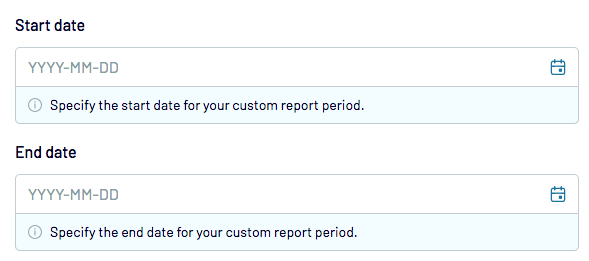
- Specify the 'Start date' and 'End date' for your report in case you want to build it for a custom period:
- Specify additional report parameters in the "Query parameters" field:


Note: If you want to select custom period for the report, leave this field empty and proceed to the next step.
If you want to create separate columns for each month, customer etc select name of the desired column in this field. If you want to receive standard view of a report leave this field empty.

Note, that these fields are supporting date macros (e.g. {{today}}). Read this guide to learn more about Coupler.io macro support.
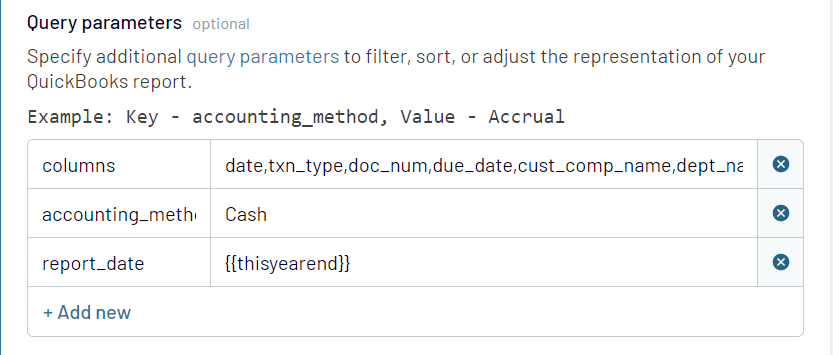
Different reports support different query parameters. Explore the available options for these query parameters in this guide.
2. Set up your data destination
Continue setting up the integration depending on the system where you want to import data to. See full list of supported data destinations and follow set up guide for chosen one.