Shopify data source
Learn how to set up a Shopify data source and move your data to one of the data destinations supported by Coupler.io.
Two steps to complete the setup
1. Set up your data source
1.1. Select an application: Shopify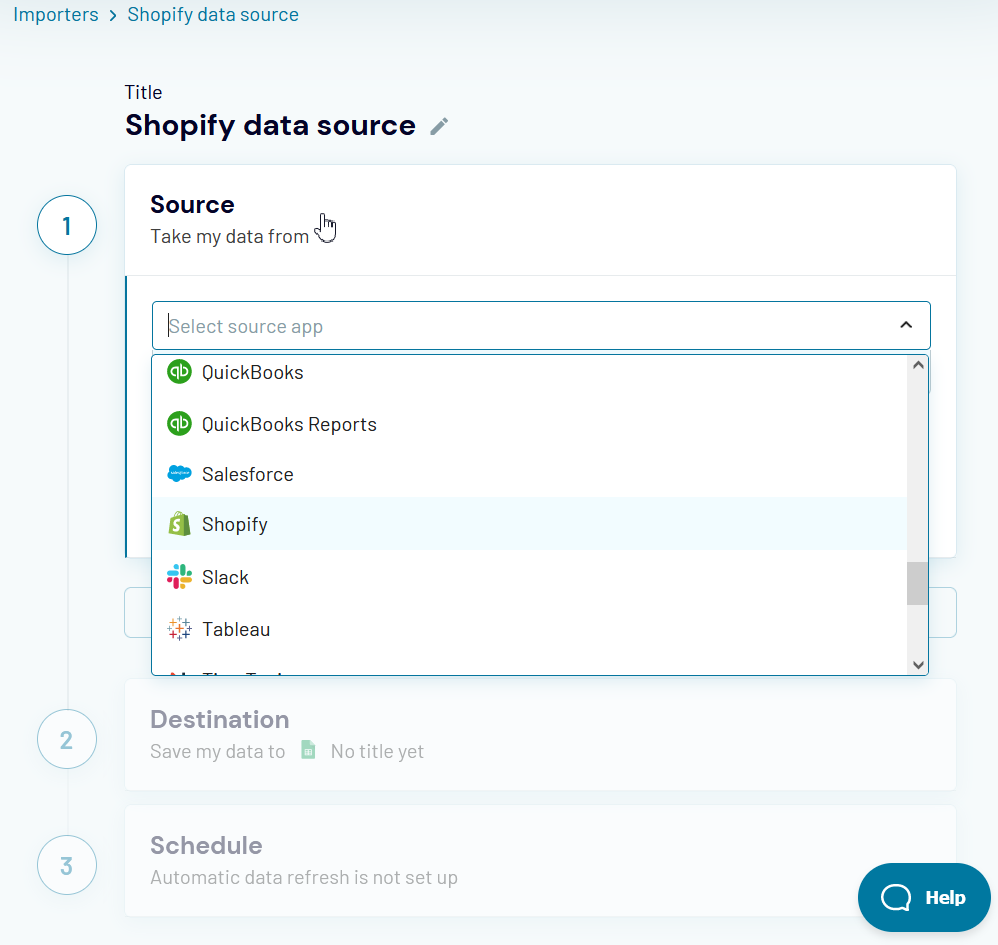

1.2. Connect your Shopify account
- Click "Connect":

- A new window will open where you need to enter your full Shopify shop name as in the example below. You can copy the URL from your website but you’ll also find it in the account settings. Then, click "Continue":

- Log in to Shopify:


- Then, click to install the Coupler.io app:

- The connected account will now appear in the wizard:


1.3. Select Data Entity
Select the needed data entity from the drop-down list:

- Customers - to pull customer first and last names, email, total spent per customer, product ID, last order ID, and other information.
- Inventory - to pull product SKU, cost, country origin, harmonized system code, inventory levels locations & availability.
- Products - to pull product ID, product title, product vendor, product published and updated dates, product variation IDs and their titles, price, SKU, and other information.
- Orders - to pull order ID, email, order creation and update date, order number, token, total price, total weight, total tax, currency, financial status, and other information.
- Orders with line items - to pull order ID, email address, token, total price, total weight, total tax, financial status, total discounts, total line items, order status, line item’s ID, line item’s title, line item’s variant ID, line item’s variant title, and other information. A full list of fields available with this data entity is available here.
- Orders fulfillment - to pull order data together with fulfillment ID, status, location ID, origin address, receipt, service, shipment status, tracking company, tracking numbers, and many more.
- Inventory - to pull product SKU, cost, country origin, harmonized system code, inventory levels, locations & availability.
- Orders with shipping lines - to pull order data together with shipping lines ID, title, price, source, delivery category, carrier identifier, requested fulfillment service ID, and many more.
- Orders refund transactions - to pull order data together with refund transactions ID, amount, status, reason, processing date, and other information.
Note: if you want to pull your summarized order data, then pick “Orders”.
If you want to pull your order data with all line items included, then select “Orders with line items”. Coupler.io will create a new row for every separate line item in your order.
1.4. Set up the Advanced settings (optional)
Note: Advanced settings types differ per data entity.
- Filter after ID: specify the ID of your selected data entity (it can be Order ID, Customer ID, or Product ID) that you want to use as a starting point for your imported data set. Coupler.io will pull all data that was created after the specified data entity ID. The listed ID itself won’t be included in the import.


- Location ID (Inventory entity only): specify one or a few location IDs to return inventory data only for these locations.

- Collection ID: (Product entity only): specify the collection ID of the products you want to import. All other products will be excluded. To find the Collection ID in Shopify, navigate to Products -> Collections. Then, open the needed collection and copy its ID from the URL (e.g. in the URL https://demo-store-2332.myshopify.com/admin/collections/432001319293 -> collection ID is 432001319293).

- Created before / after date: specify the timeframe for your data entity’s creation date that you want to import to Google Sheets. Both fields support macro. Learn more.


For example, if you set this parameter to be: after 2020-12-01 and before 2020-12-31, it will fetch data from the period between 2020-12-01 00:00:00 UTC +0 and 2020-12-31 00:00:00 UTC +0.
If you want to fetch data for a single day, for example, 2020-12-01, you need to specify: after 2020-12-01 and before 2020-12-02.
- Changed before / after date: specify the timeframe when your data entity was last changed. The same rules apply as for the previous field. Both fields support macro. Learn more.


- Status: specify the status of orders or products that should be pulled from Shopify (depending on the selected data entity).


- Financial status (Orders, orders with line items entities, and orders with shipping lines only): specify the financial status of orders to pull from Shopify.


- Fulfillment status (Orders, orders with line items, and orders with refund transactions entities only): specify the fulfillment status of orders that should be pulled from Shopify.


2. Set up your data destination
Continue setting up the integration depending on the application you want to import the data to. Select your tool from the list of supported data destinations and follow the relevant setup guide.