Data stitching from different data entities, accounts, or sources
Coupler.io allows you to fetch data from a few sources at the same time and stitch it together into the same destination file - all with a single importer.
Data stitching in Coupler.io terms means merging values for the same data attribute from two or more data sets and placing them under the same column(s) in the destination file.
Video instruction
When Coupler.io runs an importer, it compiles the list of unique column names from all the sources it’s meant to stitch. It then puts all data under these columns, using their names as identifiers and keeping rows content as it was in the sources. Here are two examples:
Example #1 (both sources have the same columns):

Example #2 (some columns are the same for both sources, and some are unique per each source):

What business cases can data stitching solve?
Here are a few use cases for data stitching that you may find useful ( note: column names should be the same):
- Stitch the same data entity from several accounts (e.g., Invoices from two different Xero tenants).
- Stitch Google Sheets, Excel, or CSV files from different GDrive / OneDrive storage.
- Stitch several pages from a JSON source that has small pagination limits.
- Stitch different data entities from the same source (e.g., Invoices, Bills, Payments from QuickBooks Online) to build a custom report.
Which sources can be stitched together?
Coupler.io does not limit the sources that you can stitch together - you can combine all sources that are available in your plan.
Just notice that stitch works properly when data sets have the same columns returned. Otherwise, you will get just two data sets in the destination file without any interconnections between them.
How to set up an importer with few sources?
There are a few simple steps on how to add several sources to your importer and stitch them together, for this:
- Create a new importer or open an old one for editing.
- Setup first source as usual.
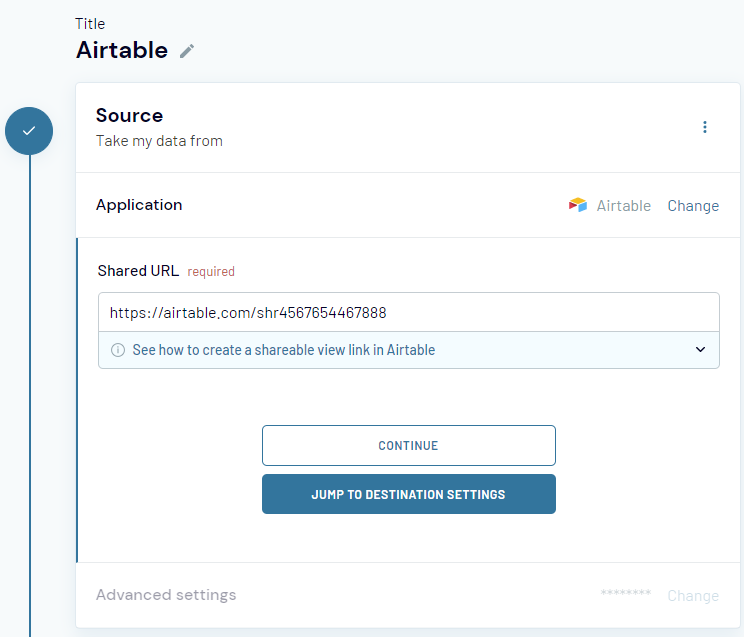
- Click the "+Add additional source" button (by default, the source with the same application as previously added will be used, but you can change it).

- Set up the second source independently.
- Repeat steps 3-4 for any additional sources you need.
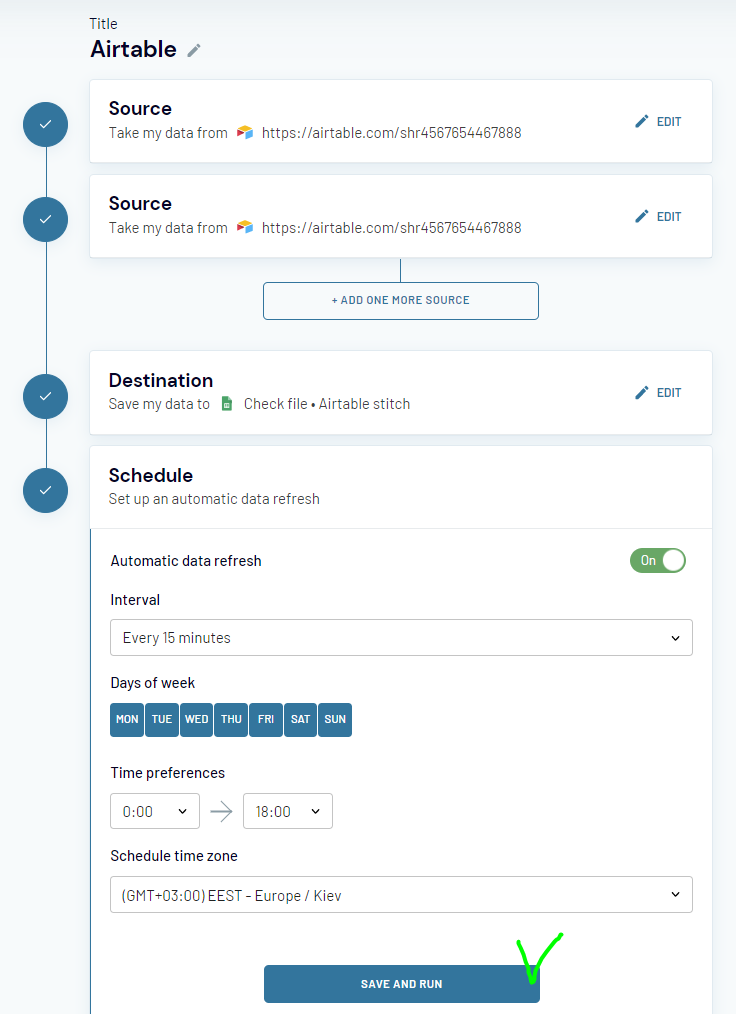
- Proceed to the Destination setup.
- Add all needed settings for the destination.
- Proceed to add the schedule.
- Save and Run the importer to check the results of data stitching


How to remove the extra sources from the importer?
- Open importer details.
- Click Edit.

- Click Edit for a source that you want to delete.
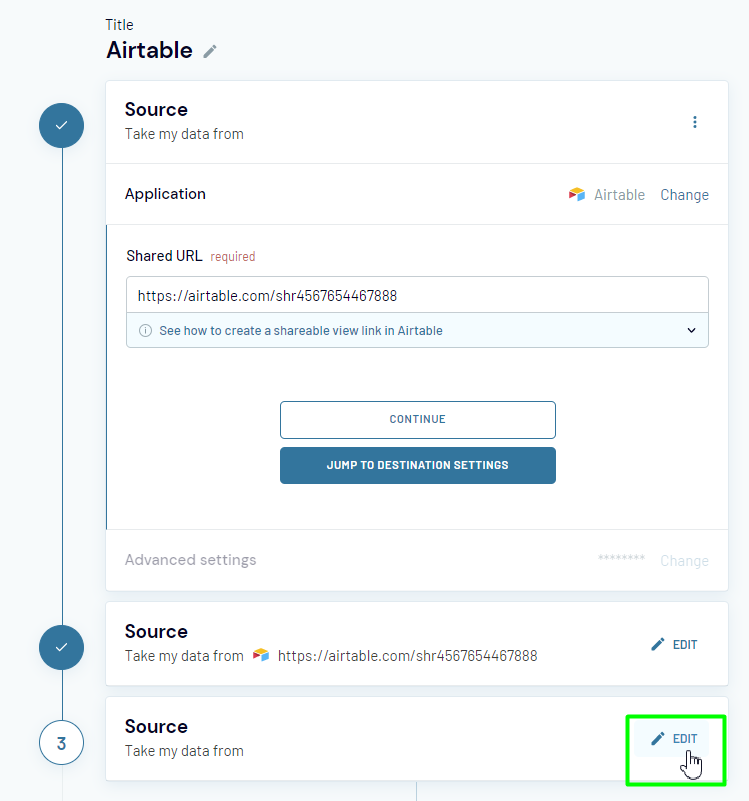
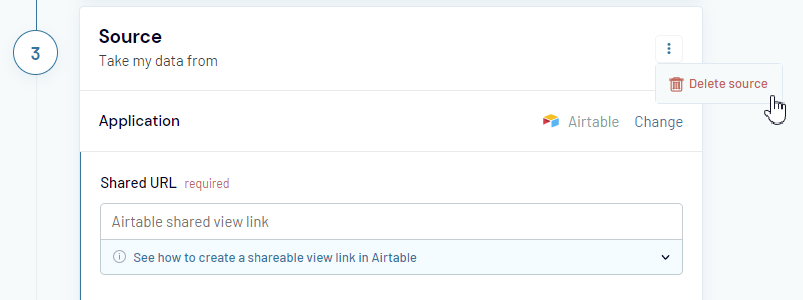
- Click the "..." button.

- Click "Delete source":
- Confirm deletion:

- "Save and Run" the importer (or "Save and Close" without running).


If you have any questions, please write to our Support team!